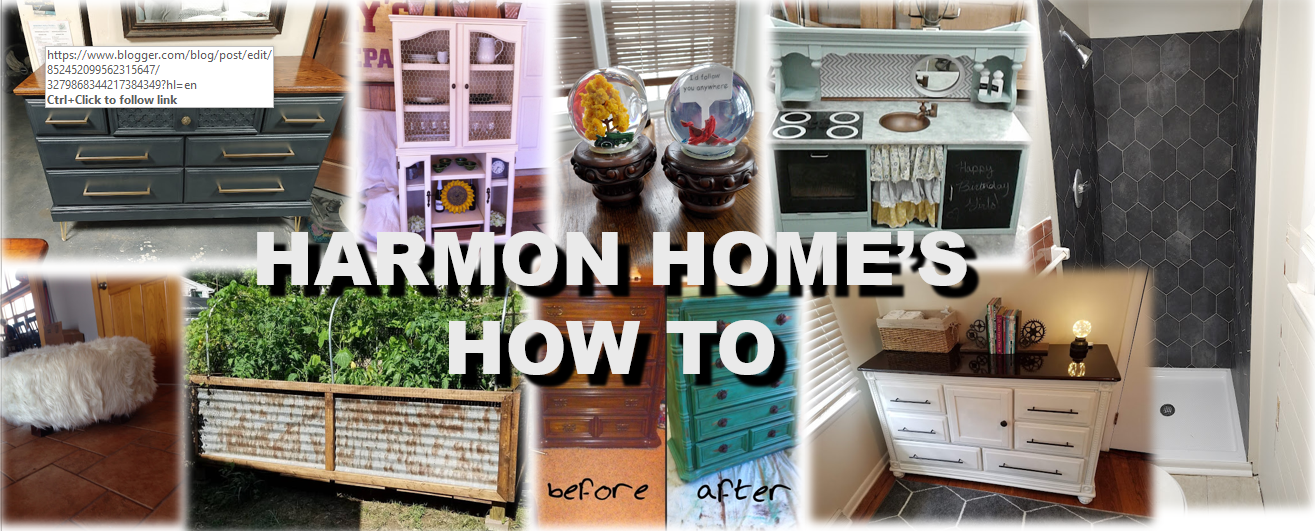
For Father's Day, I was planning to make Brock a raised garden bed...this stemmed (< see what I did there?) from an idea I had the prior year when I bought him a seed growing kit....
Anyway, I planted him all sorts of things in his seed starter. I have to be honest that they required a lot more care than I would have ever imagined. I ended up getting them special grow lights. Then when they got too big for the little 1"x1" seed planters I transplanted them into larger pots and kept them in the garage with more growing lamps. This whole planting process began the first part of February.
So, Father's Day came and went and I still didn't have the raised garden bed built. By that time, the plants had moved outdoors on our driveway where I still watered them daily. Finally came the day where I said "I'm doing it! I'm going to build it!".
I went to Lowe's and picked up some 2x4's and 4x4's. The framing was all made out of 2x4's. It ended up being about 8' long and around 3' wide. My cousin tore down an old barn and had some of this old tin that he gave my dad. It had just been sitting in his yard and he was sweet enough to let me have some.
At right about this picture I began to freak out thinking that this raised garden bed was too HUGE! I decided to add 2x4's to the middle on the outer part of the frame and on the bottom because once I add soil in there it was going to get pretty heavy (it was heavy enough already) and would need additional support. Looking back now, I wish I would have added even more support beams on the bottom of the frame...at least 2 more. Brock was kind enough to sand his present, I really dislike sanding.
I used the 4x4's to keep the frame off the ground when I was adding the tin. I ended up getting this metal cutting blade for the circular saw. To my surprise, Lowe's had one for about $8 (although some of them went all the way up to $30). I put the tin on a couple of cinder blocks after making a mark on the tin and just followed down the line when I was cutting, it worked great! I secured the tin to the frame using screws that had a larger head on them, not sure what they are called but if I find the box I'll add it later. I added the tin to all four sides. After that I cut the 4x4's and attached them to the inside corners of the frame, this was to make the garden raise off of the ground. From what I understand the purpose of a raised garden bed is so that water can properly drain through the soil.
I also attached a wire mesh to the bottom and that was lined with newspaper on the inside so that the soil couldn't escape. The problem I ran into with the mesh was that the staples I was using were cutting the mesh wire (I was using a staple gun). I rectified this by taking a 1" thick board and placing it over the mesh followed by staples (so it was layered, frame then mesh then 1" board). That seems to be holding up.
After that we added peat moss in the bed which comes in large bags, I bought about 6 bags that were each 3 cubic feet. I also bought one bag of soil that was 2 cubic feet to put on the very top.
Finally it was time to plant, granted these plants had been potted for about five months and were long over due. I originally had planted tomatoes, lettuce, spinach, onion, green bell peppers, and watermelon. The only plants that really survived were tomatoes, onions and the peppers. My dad recommended I plant "tomato bushes". So here's how we did that. We planted about 3/4 of the tomato stem into the ground at an angle going upward out of the soil. We planted 4 tomato plants to form a "T" shape and placed a tomato cage over top of them. When they begin to grow upward they turn into a big tomato bush.
I also heard that birds and other critters can completely destroy a garden. With as much time...I mean love, as I put into this garden...the only one's who will be enjoying the produce will be my friends and family! So I used conduit to make these arches (sorry I couldn't figure out the conduit bender to be able to make these pretty and uniform looking) to be able to drape bird netting over the top of the garden bed. It's a bit tough to see the bird netting in the pictures but trust me, it's there.
Over time though, our tomato plants got so big that they were hitting the bird netting, so we had to take it off. I also added pole beans and straight 8 cucumbers and these cute little trellis' for them to climb on.
The latest problem is that I planted way too much in the garden, some of the peppers aren't getting much sunlight and the beans are having similar problems. I left the conduit in the garden bed because the cucumbers like to climb on them. But on a really cool note, here is a picture of our first vegetable! Is that not the cutest pepper you have ever seen?!?
We learned a lot this year, being that this was our very first garden either of us have ever planted on our own. I hope we have more produce to come, I think we spotted a tiny tomato and I hope to share pictures of that soon. Feel free to leave comments about your planting experiences! Have a great day!


