Sunday, March 22, 2015

Shadow box end table

DAY 1

Another piece we picked up at the used furniture shop.  This end table was $17 and some change...

Wanted to make it fun and different, and to light up the room.  So went with a coral chalk paint.  Used someone's homemade chalk paint (which ended up being really runny and required many coats).

I know, I know....it looks super pink.  This treasure isn't at all finished yet.

And the beginnings of the distressed process.


More to come, I know it will look great at the end!

DAY 2

I think she turned out quite gorgeous.  After distressing and clear waxing went over lightly with dark wax and added a shelf and stained it.  This was intended to be a shadow box to display whatever but it reminded us of a beach house so we put starfish in there.  Definitely looks different than when we originally bought it.


And you know me, every project conclusion needs a before and after photo!  She's adorable!

Storage Cabinet turned HUTCH

DAY 1
I went to a used furniture shop and found this entertainment center (really run down!!) for $25.  Right now the plan is to turn it into a storage piece so we shall see how this dandy turns out.


Got a start on the new shelves and the back....I guess you can say it's been gutted.


And a little flip-a-roo on the bottom doors...


Next to go is all of the trim...it's in pretty rough shape and will be replaced on the top and bottom.  Also, the middle has trim that hides some space between the doors and the top storage shelves so I'm going to tear that off and do a picture frame style around the top storage.  Also, need to go to Hobby Lobby and pick out four new door knobs and I'm going to get some sort of fixtures to place on the larger doors that go up top.  Still so much to do and getting more excited by the minute!

DAY 2

Well, a couple of set backs on the storage cabinet...

Set back #1:  Took the trim off, after already purchasing new trim and.....I don't think they are going to fit.


Set back #2:  While taking the old trim off, there was a cabinet door on top and when I was hammering it made the door fall off the top and break...so that was great.

I do really have this hankering to take out that middle piece of the cabinet door and replace it with chicken wire...

So on my lunch break I decided to give it a try, keep in mind I still have to fit the broken pieces back together but here's a start to what it will look like.  The chicken wire will be painted the same color as the rest of the cabinet.

DAY 3

Well, I got the chicken wire attached to both top cabinet doors...not particularly fond of the way they sort of wave...but what can you expect when you don't have a way to lay it down flat.
I also spray painted the chicken wire a cream color to match what the rest of the cabinet will look like,  The trim around the bottom and middle portion of the storage cabinet has been replaced and put on.
And we got the cabinet doors hung but this whole piece was a little un-square so had to make some adjustments.  Right now I feel like putting it on the curb.

The only thing I'm currently excited about with this project is the new handles and knobs!


DAY 4

This entertainment center turned storage cabinet has been quite the headache...but it is starting to look better.  I replaced the bottom levelers (only had two originally) with 4 new ones so at least it's level now.  Had to go back and fix a few things...probably should have began this project with making sure it was level, I think I just created more work for myself.
So here we are with all the new trim and the doors put back on.
Then I began painting by doing the corners and all of the trim work and doors.
And the first coat is finished, a little over two hours later!  I'm sad to say that I'm going to need more paint.  The wood is just soaking it up!

DAY 5 (the finale)

You know I like the antiqued look.  So I tried to just do the antiquing on the trim/molding.
And then I saw what it looked like and I was really just not feeling it.  The wax was just too dark compared to the cream colored paint I chose.
So that just meant, that I needed to repaint it again.  Most places have 3 coats of paint which had primer already mixed in it.  So overall I felt that it covered really well considering it was so dark before.

And then put the glass back in the bottom doors.


Well, here we are...the before and afters.  What was once a nothing shell of an old entertainment center is now a country style hutch.  I'm excited to put some stuff in it and dress it up to sell!

All dolled up...
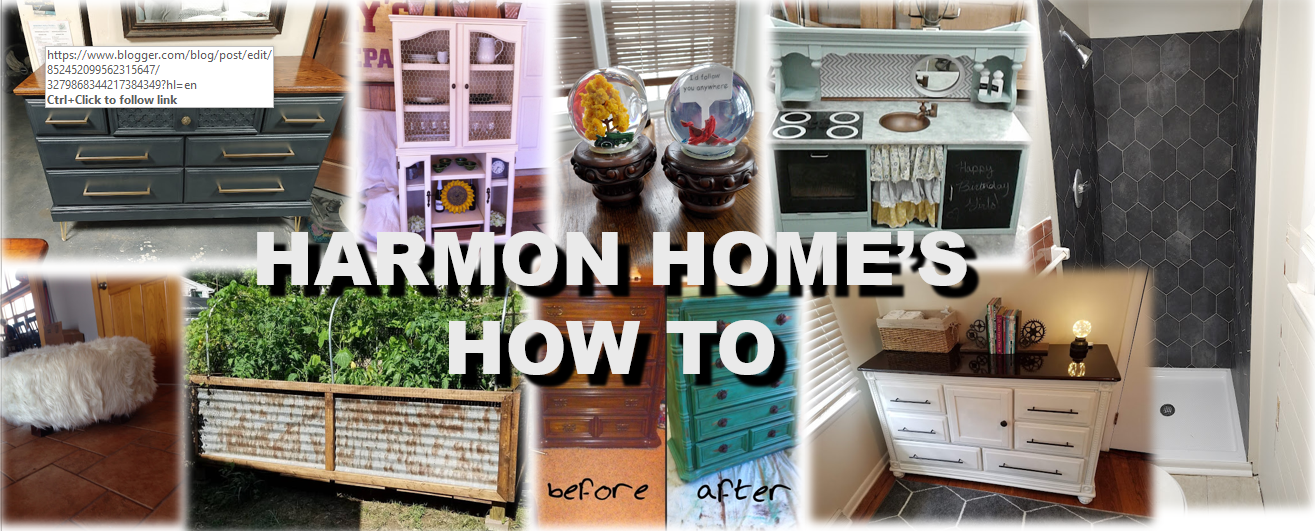
Dresser Restoration (for my bedroom)

DAY 1

Finally getting to start something for myself.  Here's a dresser that I'm redoing.


I started with a little bit of sanding.  Not too much because I'm using chalk paint over top so I wanted to get the coat of poly off and also some of the imperfections out...If I got down to the bare wood I went back over those spots with dark walnut stain so that when I distress it you'll see a dark finish underneath.


Then I put my first coat of chalk paint on, this color is called Florence (which is kind of a bluish-green).


Oh yes, I'm super pumped up in here!


Then I put some wood filler in the old handle screw holes and drilled new ones that will be centered in the middle of each drawer.  Hobby Lobby only had 5, so I'll need to get 5 more once they restock.


New knobs are shown below


And lastly I got a second coat of chalk paint put on.

So, next on the list is to sand the drawers and paint two coats of chalk paint on them.  Then I get to distress and wax.  I'm excited!!

DAY 2

I'M IN DISTRESS!!
Yes, that was my lame joke of the day.  But I think that distressing furniture may be my new favorite thing EVER!  And for some reason, when I take a picture the color looks extremely blue but this picture above is pretty close to the true color.

So I got another coat of chalk paint put on the sides of the dresser (this was coat #3). And I distressed the areas that I felt would get normal wear and tear.  These pictures may look a bit odd because I just painted two coats of chalk paint on the drawers so those still have work to be done.

Dresser without the drawers and just distressed.  The picture below is with the newly painted drawers.
And, here's a side view.
I did end up putting clear wax all over the main frame of the dresser and letting that sit over night.  Next things to do on my "to-do" list is distress the drawers and clear wax them...then go over the entire piece with dark wax and put on the new handles.  So, about a days work left (more like an evening since I work on these after I get off work) I'm so excited to see it finished and in my room!  The best part is, I just got all of the squares cut out for a quilt my sister is making for me so everything should begin to match in my bedroom...FINALLY!

DAY 3


Looking over the blog yesterday for some reason I felt the need to count the holes I drilled in the drawers...I counted 7...and I knew that I needed to buy 10 knobs.  Yep, I made a mistake and only drilled one center hole in the middle of the longer drawers instead of 2 on the outer sides...so I went to go put more wood filler in those last night and I'll need to sand and repaint the middle.  I can never make projects easy...
I also did the distressing on the drawers where the "wear and tear" would occur with the knobs.  I still need to put a layer of clear wax on them, then dark wax.
Speaking of dark wax I did do a little of that last night too.  Doesn't that look awesome??
And just to give you a little comparison of what it looks like with and without dark wax.
So what turned in to only 1 more day of work, it's now looking to be around 2-3 more days.  Oh well, I'm excited to get it home!

DAY 4

Phew!  I'm so glad it's done!!!
So I went back and sanded, then re-painted my "silly" holes in the middle of the three drawers.
Then went on to clear and dark wax the drawers and the sides of the dresser.
Then added my pretty knobs that I got from Hobby Lobby.
A couple different views of the dresser now that it's finished.
Side view.  And to the conclusion of every project, the before and after...