The lovely pink, cracked laminate top was the first thing to go. Followed by using a hand saw to take off the trim that ran along half of the bottom of the cabinet.
I also cleaned out my garage and did some rearranging so I thought I would share that too.

Then I took some measurements of the opening in the middle, looks like there used to be 2 cabinet doors there so I was just going to make new ones. I was sure to make a mental note to divide my measurements in half to get 2 cute cabinet doors....
I took some time making a frame for the cabinet doors.

I used a table saw to cut out grooves where you could slide the cabinet facing into the frame.

And there they are...

So I got home...and guess what I forgot? To divide my measurements in half....so I guess I'll settle for 1 gigantic cabinet door. I also added casters to the bottom, so the work bench is mobile now.

Another thing I picked up was peg board. The plan is to hang in on both sides of the work bench. I just cut it in half and ended up spray painting them both black.

---------------------------------------------------------------------------------------------------------------------
Next order of business was taking all the old handles off the drawers. You know me, I can never stick with the original drawer pulls or knobs. I ended up just buying some wooden knobs from Lowe's, they were $0.89 a piece so how can you say no? I put wood filler in all the old holes and drilled new ones in the middle of each drawer.
Call me crazy but I'm painting it red. Originally (after sanding) this cabinet was yellow, then repainted this hunter green color. I'm just using a flat red paint from Olympic that I had left over from the yard game project. It's going to look a little crazy at first but I plan to antique it (I know what you're thinking, but yes I do prefer a pretty work bench).
Well, 2 coats of red down and it doesn't look to be covering at all.


A family friend gave me some of this tin looking back splash, spray painted it in a flat black...planning to put it on the cabinet door...not sure how that's going to end up looking.

Well, I was running out of red paint so I decided to cheat a little and spray paint the drawers red....not a good decision, you can totally tell. Oh well, it's going to get dirty anyway right?
Believe it or not I did do the antiquing, still looks SUPER WILD to me. Maybe after adding the top it will tone it down, although I have my doubts.
I just used hot glue to attach the backsplash panel to the cabinet door I made, I did this after doing the painting on the parts you can see..,I didn't worry about painting the middle.

Then I reattached the cabinet door. I couldn't put the bottom drawer in tonight because the screws from the casters were poking through...so it looks like a stop to Sutherlands tomorrow to get some new grinding bits for my drimmel. That's alright, I need to go anyway to get some wood to make frames for the pegboard.

---------------------------------------------------------------------------------------------------------------------
On to a new day.
I did get all the screws grinded off so the drawers all go in now. Also, on my lunch break I made some frames for the pegboard, which will go on either side of the workbench. Nothing fancy but I ended up spray painting them black so they wouldn't show once the pegboard is attached.

Pegboard is up and look at my cute little knick knacks....oh so organized!! Maybe I'll be able to find things easier now!


-------------------------------------------------------------------------------------------------------------------
Last orders of business will be the top and the mount for the miter saw.
I'm just using some old boards that I had stored in the shed outback that came from a deck someone was tearing down. These are the same boards I used on B's fort...and there are still a bunch in there. Anyway, sanded them down...they're looking a little better. Looks like it's time to go purchase a miter saw!

Originally, I wanted to stain the top in dark walnut...you know it's my favorite! But I didn't figure there would be so much black going on with the bench so I picked up an ebony stain from minwax...I'm a little nervous to see how this turns out.
What's left on the agenda:
- Cut the board lengths down to size (I think I want at least 0.5" overhang on either side.
- Make a base for the miter saw to sit on so it's flush with the top of the cabinet.
- Get 1"x1" board to run across the top so that all cuts stay square.
- Stain/Poly the top boards.
- Thinking about making another cabinet door so you can't see the tools stored in there (it would probably look more finished that way).
-------------------------------------------------------------------------------------------------------------------
So I got a little carried away and put the top on. I think I'm finished for now. I'll probably go back later and build the miter saw in and add another cabinet door. The stain didn't look like how I pictured it at all.
All I did today was cut the wood pieces down to 70" and sanded them again.

I attached the top boards with 2" screws. Followed by one coat of stain. I was proud of myself, I wore gloves.

Yep, that's it for now...

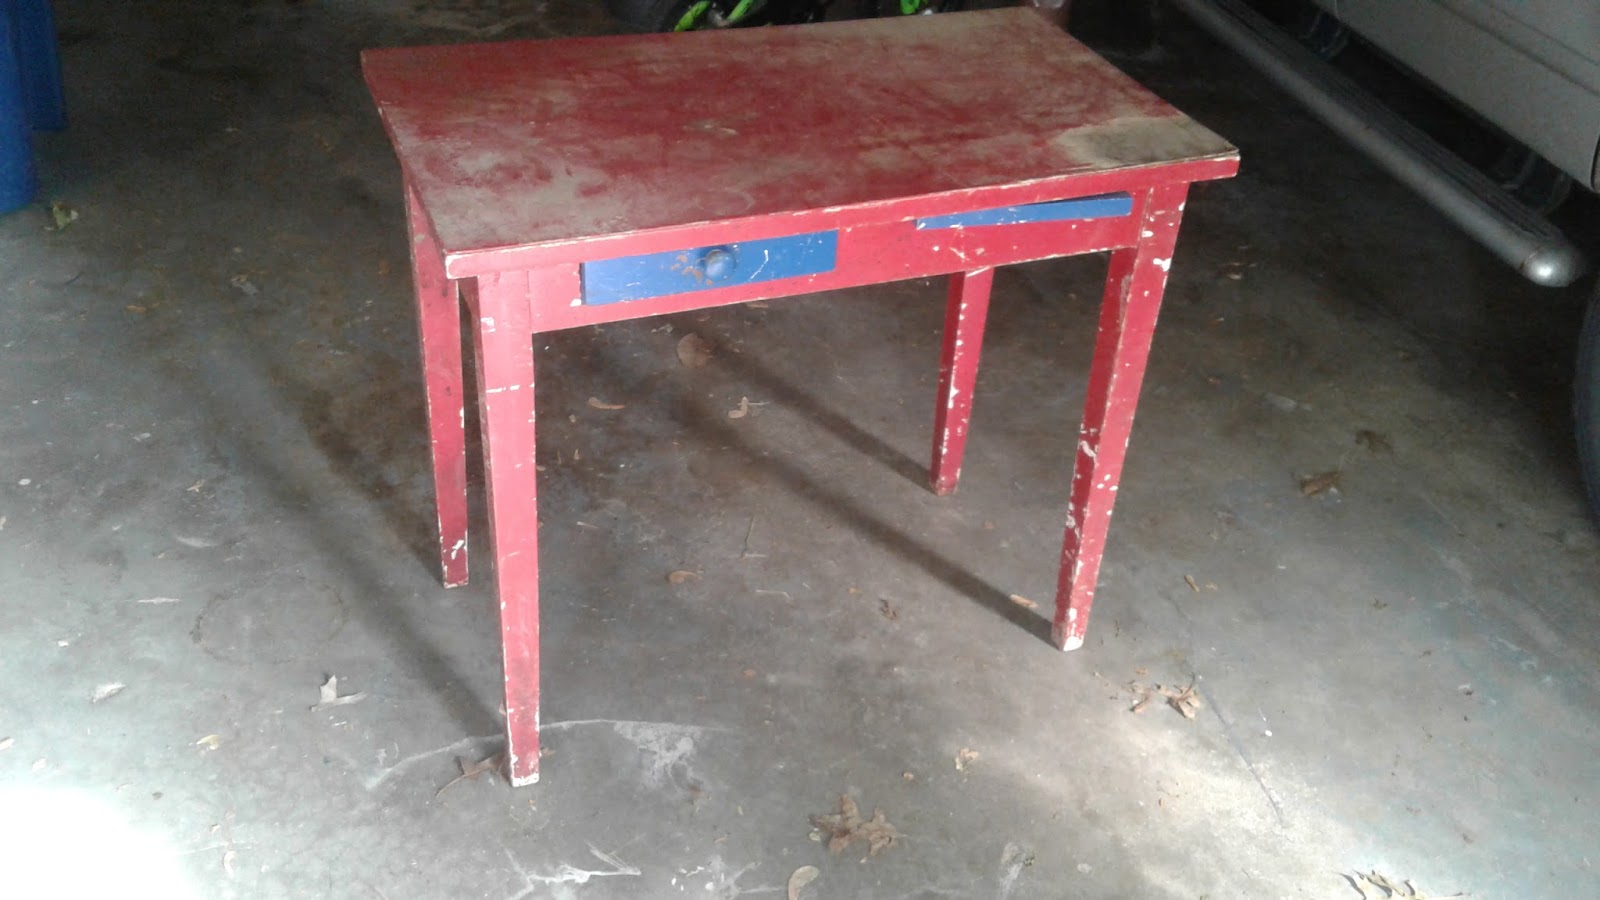
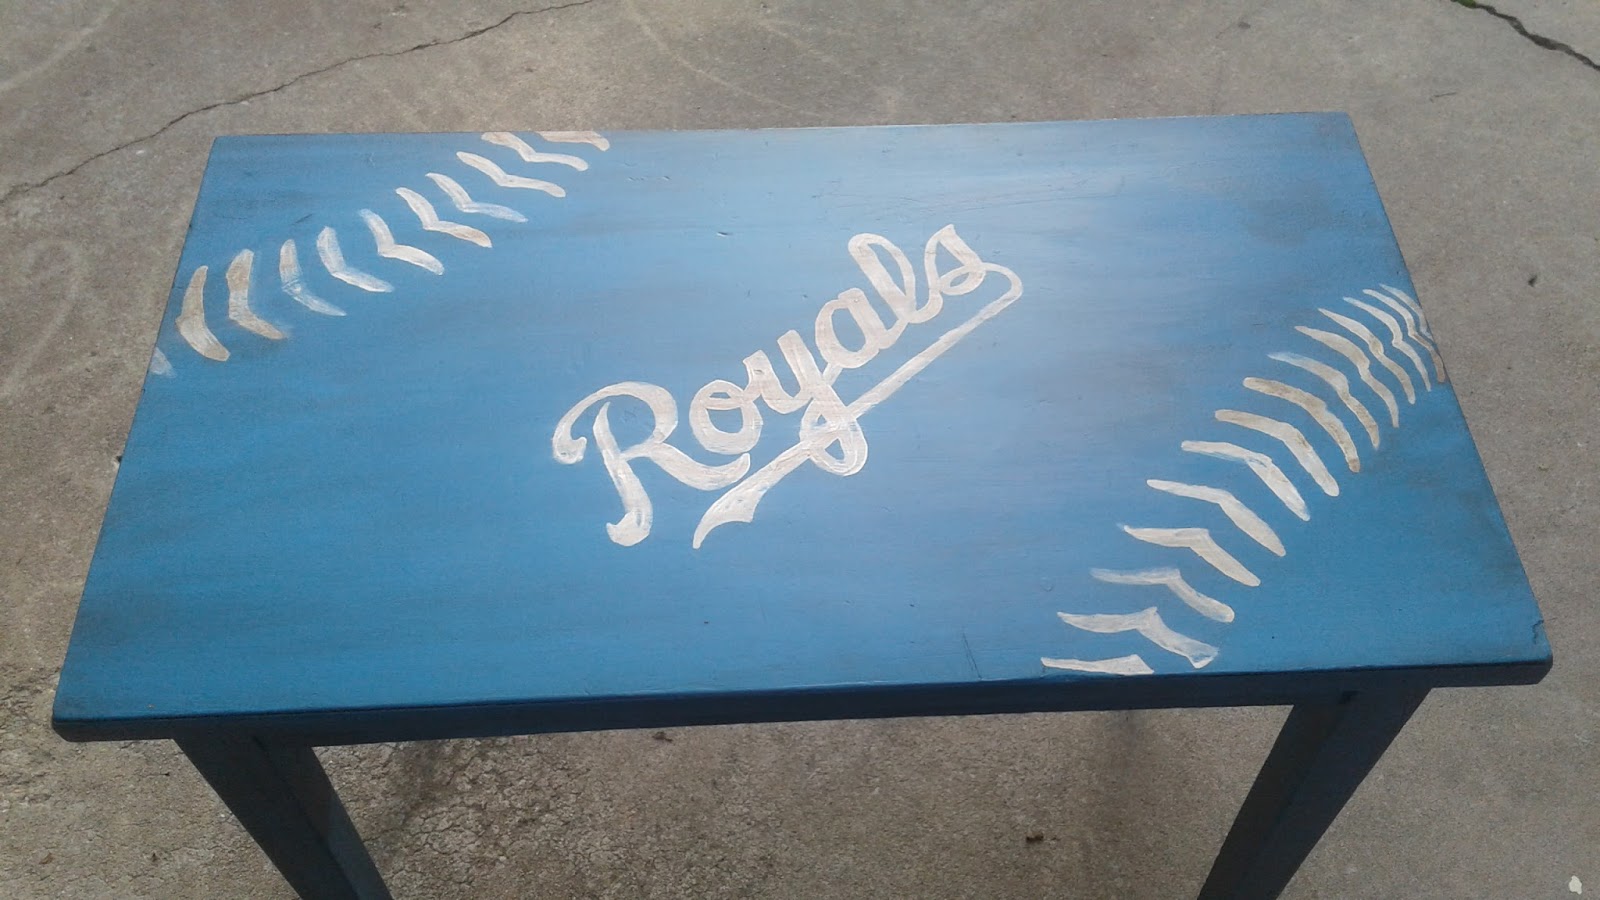
Before and after photos