Tuesday, March 30, 2021

DIY Water Globes


For Valentine's Day, I had this vision of making my children's dreams inside of a globe.  They aren't snow globes because they have glitter in them to make them "dream like".  It was suprisingly difficult to find objects small enough to fit inside the globes I got.  I ended up searching for things like; Christmas ornaments, dollhouse figurines and miniatures.

Here is the supply list:
  • Water globe
  • Figurine (I ordered from Amazon, Etsy and Hobby Lobby)
  • Craft resin
  • E6000 glue
  • Hot Glue
  • Glitter
  • Distilled Water
  • Clear Elmer's Glue
  • Optional: wood base (I made 2 and also used 2 furniture feet from an old couch)
  • Optional: music box
Note: Anything that is metal, I coated in resin to prevent from rusting.

Much of this process was trial and error and ended up being WAY more expensive than planned.  Once you pick out your figurine, simply glue it on to the plug for the globe.  In my case, most of the figurines wouldn't fit on the plug so I had to glue them to the inside of the globe.  Careful if you end up having to do this too because glue gets everywhere!  

Side note: Allow the E6000 glue to dry for a couple of days.  If you let it sit overnight, like I did, you'll have figurines floating around in the water because they are no longer attached.


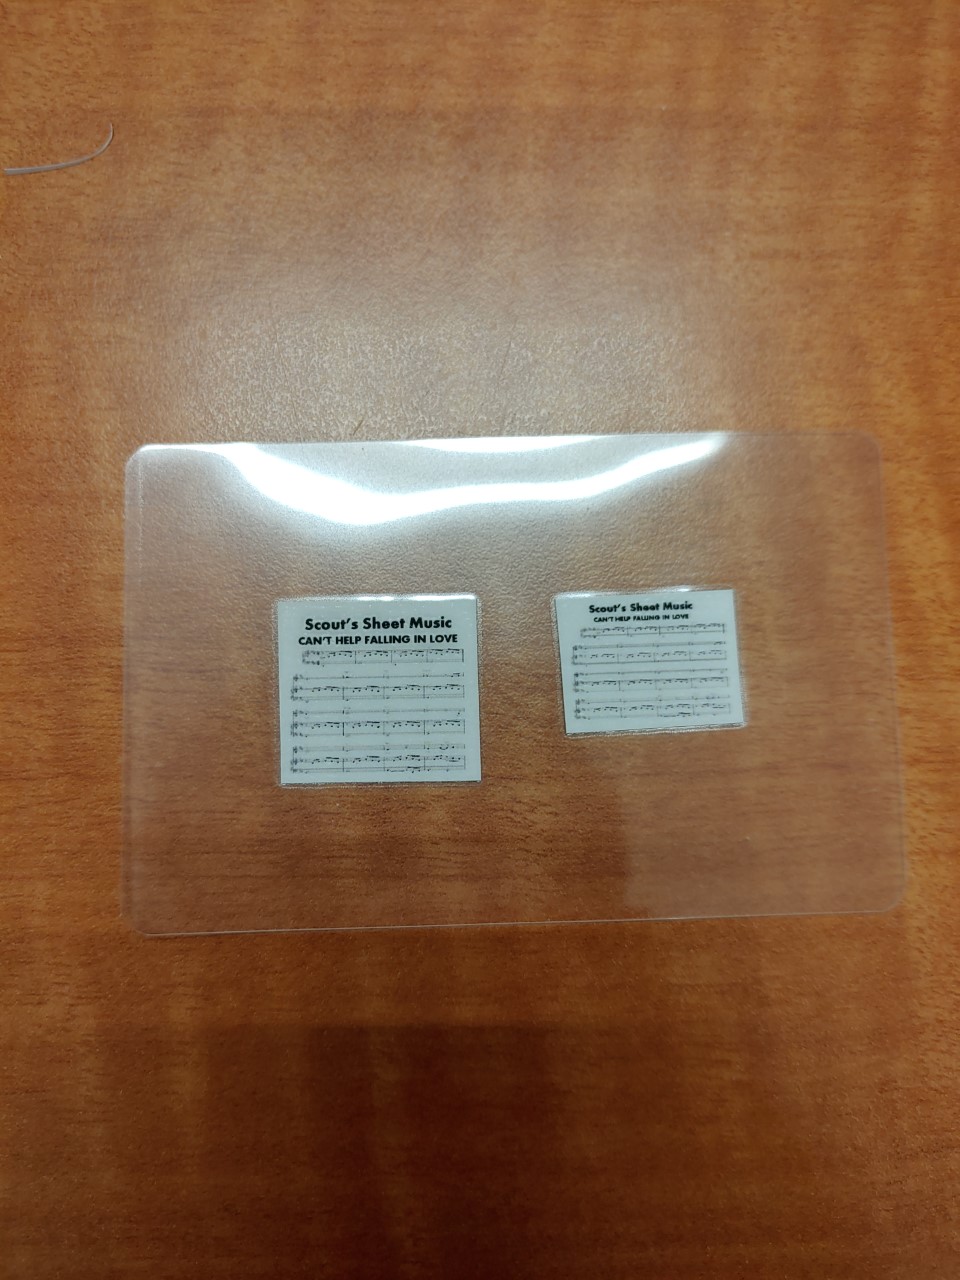
I made this sheet music to correspondence with the music box I got for my daughter.  She loves the song, "Can't Help Falling in Love With You" by Elvis Presley.  I laminated the sheet music and glued it to her piano.  She also had this really cool microphone go in hers.

My son is dreaming for the day we build out on our property, for his globe he got a barn and a horse.  He really, really, REALLY wants a horse once we move.


My best advice is to find a container you can set your globes in as you are adding the water and glitter.  I tried my best to prevent air bubbles, but it's easier said than done.  You'll want to add the distilled water and about 2-3 tablespoons of CLEAR Elmer's glue.  Make sure to stir, stir, stir until the water turns clear again.  The glue will help suspend the glitter when you shake it.  Then add what ever glitter you want, I also added some confetti in mine.

As far as how much glitter is too much....you can definitely put too much glitter...you can also put not enough.  My suggestion is start with less and add more.  It's easier to add then to take it back out. Add your glitter, confetti or both and stir, stir, stir.  You'll want to stir until your arm wants to fall off.  Most of the glitter should sink to the bottom.  Another helpful tip I found online was, if you have any glitter that's floating...fish it out with a spoon.  The glitter may eventually settle as it should, but I wasn't willing to take the chance.

Now with air bubbles....
Once your glitter is all stirred in and you have the amount of glitter you like, fill up your globe with more distilled water....not quite to the brim, but almost.  This was a messy step, so do it in the sink and slowly (because it sprays everywhere).  Once you are ready to put the plug in, place some E6000 glue around the entire plug (towards the part that you glued on your figurines, that way as you press down, the glue will spread and hopefully not ooze out too much).  Again, water will spray everywhere but this was the only method I found to help reduce air bubbles.


Progress Video:


You will want to glue the plug in before screwing the cap on.  To glue, use E6000 glue.  I put more E6000 glue on the inside of the cap before screwing it on.


You will imagine my surprise after letting the cap with glue dry for a couple of days....
I turned the globe over to shake it and 3 out of 4 of the globe's figurines broke off and went floating in the water.  I was so upset.  I was able to save 1 of them, my husband's that has a figurine of the kraken in it (inside joke).  But, my oldest son and daughter's globes were toast.  I ended up ordering bigger DIY globes from Etsy.  They were a lot more expensive than the original globes but they were just what I needed to fit their figurines.

Here's a video of progress...


On the sphere globes, I got to use the furniture feet like I wanted to.  I ordered this cool adjustable drill bit to drill out the hole on top to sit the globe into and also drill out the bottom to fit the music box in.  Of course when trying to attach the water globe to the base, use E6000 glue.  I had to order special screws to attach the music boxes, the one's it came with were just not long enough.


Here are the 2 larger water globes I ordered.  I ended up just making a base for them to sit on, the globes are not attached.  Underneath of the bases are music boxes too.


The finished product:


Here are some links of where I got each of the items:

Kraken Water Globe:

Barn Water Globe:

Tractor Water Globe:

Piano Water Globe:

Little boy room decor

I thought I would share a couple of projects I've done recently.  I wish I would have taken more photos along the way.

You may recall a bookend project I did for my oldest son years ago.  Well, these are the same bookends with the dinosaur pulled off and replaced with these awesome gears I found on Etsy!  I just hot glued them on.  They were originally supposed to be for a magnetic board for my son to play with, but after getting them I realized they would probably break the moment he started to play with them.


I also made hot air balloons.  I know it looks like a daunting task, but I could not even believe how simple these were to make.  Here's what you need:

  • Cute fabric of your choice (I got mine at Hobby Lobby, about 6 different patterns)
  • Paper Lanterns (all they had were red at Hobby Lobby but after adding the fabric, you can't really tell)
  • Small rope or jute (I had some on hand and I'm sure this, too, came from Hobby Lobby)
  • Mod Podge (and lots of it)
  • Small cup
  • Something for the balloon basket (I may have gotten mine from Dollar Tree or Hobby Lobby, the used to have handles on them but I just cut the handle off)
  • Hot glue
  • Embellishments (I used gears, small fabric cut in to triangles, and buttons)

So this is what you do:

  • Cut a styrofoam cup in half, I used a paper dessert cup and just cut the bottom off.
  • Hot glue the cup on to your paper lantern, this will end up being the bottom of the balloon.
  • Cut strips of fabric (I used 2 different fabrics for each balloon, the lanterns came in 3 different sizes)
  • Use mod podge on the lantern then lay your strip of fabric down (I alternated between the 2 fabrics)
  • Use more mod podge (it's ok if you get it on top of the last piece of fabric you layed down, you will coat the entire thing with mod podge when you're done) and add the next strip of fabric.  Continue this process until the entire lantern is covered.
  • Use hot glue and tuck in your extra fabric to go inside of the lantern.  You will do this for the top and bottom of the lantern.
  • Mod Podge the entire outside of the balloon and let dry
  • Go back and staring from the top, hot glue on your yarn/rope/jute so you can connect your basket (you can see from the photographs that I tried a couple different ways to do this)
  • Add your embellishments
  • Hang from the ceiling, I used fishing line to hang them


I added these drop clothes as curtains.  Make sure to wash and dry before hanging, you may have to iron them as well.


I got these cute letters from Hobby Lobby.


And finally he got his magnetic gears to play with.  We were trying to go with a Steampunk theme, I still have a lot I want to do....to be continued...


Dresser Restoration

 I forgot to post about this dresser restoration.  I really love to share my experiences but never seem to find time to update the blog.

This used to be my oldest son's dresser, you may remember it from this old blog post, oh my how styles have changed!  Anyway, the dresser is now being used by my youngest and was in much need of a change.

Here is what we began with (hardware was already removed)...


SANDING, SANDING, SANDING...


I ran into a bit of a problem when sanding.  I'm not sure what the top of this dresser was made of, because I thought it was solid wood, I'm not sure if there's composite wood under there but I hit some stuff sanding and it was NOT GOOD!  So in the picture below, you will see what I'm talking about.  WHAT IS THAT?


I also had to use wood filler on the drawers and give the face of the drawers a light sanding because of the paint decals that were on top of them.


So I tried to stain the top of the dresser, and the spots in the sanding photograph stuck out like a sore thumb.  What I ended up doing was using a gel stain, that had seen better days.  It was old stain and super thick.  I probably should have made a run to the hardware store, but I didn't.  So I spread the really gooey gel stain on the top and had to let the dresser dry for over a week!


For the most part, the gel stain covered up the sanding spots.  This gel stain is dark walnut from Minwax.


I put on about 5 layers of a UV polyurethane gloss.  Make sure to sand in between each layer for a smooth, shiny surface!  The bottom of the dresser was done in Annie Sloan Chalk Paint, this color is called Old White.  I did 3 coats of this color followed by clear wax.


I got the drawer pulls from Amazon, in 10" and 15" lengths in an oil rubbed bronze finish.  I got the center knob at Hobby Lobby.


Be sure to wait at least 3 days before placing anything on top of your finished product.


The before and after...


Click here to check out some of my son's room decorations.

Click here to see another dresser that was restored.


Dressing up a dresser

 After my son moved down to the basement, he was given a hand me down dresser that was in much need of LOVE!  This was a very sturdy piece of furniture, unfortunately most of the drawer pulls didn't function correctly.

Here is what we started with...


I ordered some awesome furniture feet from Amazon.  I removed all the old drawers and installed the feet.  I had to cut down some of the existing wood underneath to make them attach correctly.


If you've ever read any of my blogs in the past, you know my least favorite part of any project is sanding.  Thankfully though, I only needed to sand the top.  I've gotten really into the stained top and painted bottom look, I did the same thing on my other son's dresser.


All the scratch and scuff marks are gone, revealing beautiful wood underneath!


I ended up staining the top with a gel stain.  This was my first time using this brand and it wasn't as thick of gel as Minwax is, as a matter of fact, I wouldn't call it a gel at all.  It did come out gorgeous though!


Getting ready to paint the bottom...

I save the top coat until very last because I put on about 5 coats of polyurethane.  I used a UV resistant glossy finish.


Before painting the drawers, I removed all the hardware and put wood filler in the holes.  I painted 2 coats of Annie Sloan Chalk Paint on the bottom.  I ended up mixing 2 colors which were called Graphite and Napoleonic Blue (Ratio: 4:1).  I ordered online from The Purple Painted Lady, who had cute packaging details!


I've used clear wax for chalk paint previously, and I really like the look of it.  This time, however, I just went with 2 coats of a satin polycrylic top coat from Minwax.  I also ordered these drawer pulls from Amazon, I used the 12 4/5" and the 6 1/4" and spray painted them gold.  I found some other gold pulls online but they were far more expensive.  I got the little knob at Hobby Lobby.


Again, about 5 coats of polyurethane on top.  Do a light sand in between coats so you don't get bumps in the finish.  It turns out shiny and gorgeous.

I would recommend not setting anything on top of your project for a few days to allow the polyurethane to completely dry.

Here are a ton of pictures on the finished product.


Finally able to set some of his belongings on top.


And lastly, the before and after photo.  Hope you enjoyed this project as much as I did!