
DAY 1
Finally getting to start something for myself. Here's a dresser that I'm redoing.


.JPG)
New knobs are shown below
.JPG)
.JPG)
DAY 2
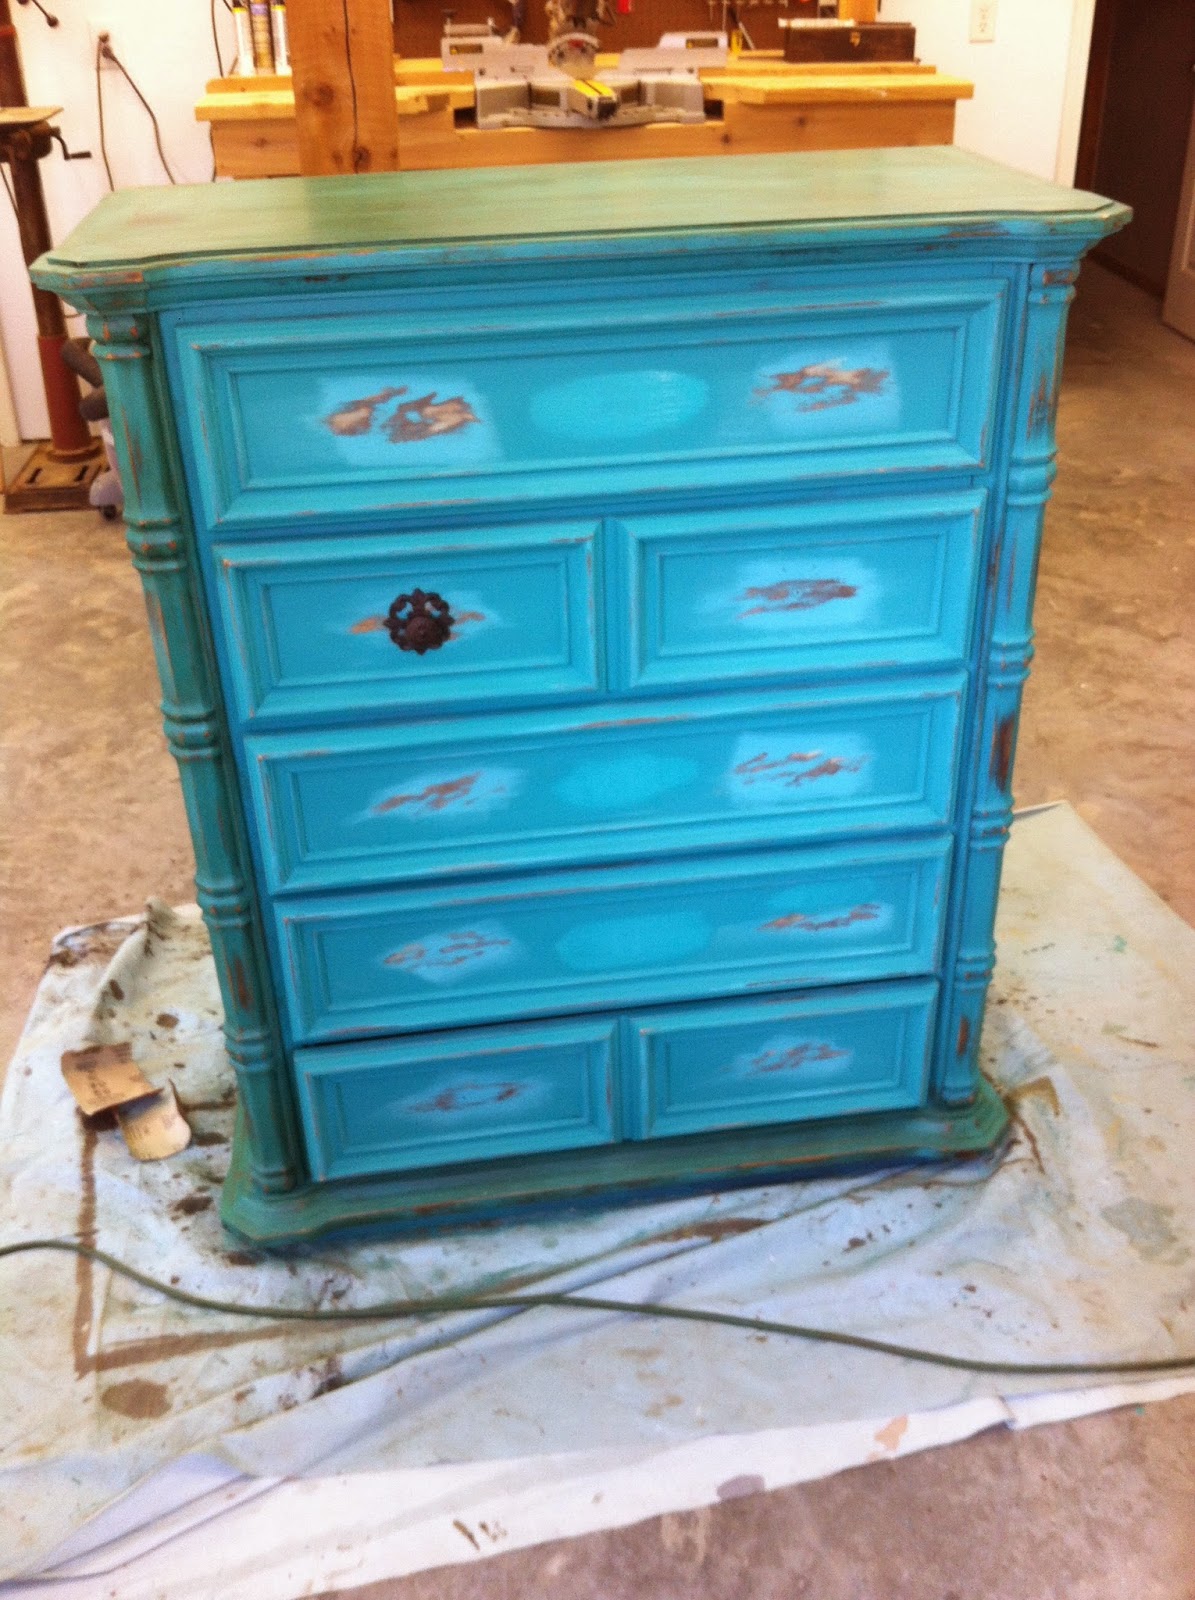
.JPG)
So I got another coat of chalk paint put on the sides of the dresser (this was coat #3). And I distressed the areas that I felt would get normal wear and tear. These pictures may look a bit odd because I just painted two coats of chalk paint on the drawers so those still have work to be done.


DAY 3


.JPG)


.JPG)


Looking over the blog yesterday for some reason I felt the need to count the holes I drilled in the drawers...I counted 7...and I knew that I needed to buy 10 knobs. Yep, I made a mistake and only drilled one center hole in the middle of the longer drawers instead of 2 on the outer sides...so I went to go put more wood filler in those last night and I'll need to sand and repaint the middle. I can never make projects easy...
I also did the distressing on the drawers where the "wear and tear" would occur with the knobs. I still need to put a layer of clear wax on them, then dark wax.
Speaking of dark wax I did do a little of that last night too. Doesn't that look awesome??
And just to give you a little comparison of what it looks like with and without dark wax.
So what turned in to only 1 more day of work, it's now looking to be around 2-3 more days. Oh well, I'm excited to get it home!
DAY 4
Phew! I'm so glad it's done!!!
So I went back and sanded, then re-painted my "silly" holes in the middle of the three drawers.
Then went on to clear and dark wax the drawers and the sides of the dresser.
Then added my pretty knobs that I got from Hobby Lobby.
A couple different views of the dresser now that it's finished.
Side view. And to the conclusion of every project, the before and after...
Very nice job. Dresser looks totally different. Like the dark wax!!
ReplyDelete