Thursday, February 18, 2016

Chair Hall Tree

It's been a while since I've done a hall tree.  A family friend had an interest in one so I was quick to take a jump on that offer.  This one is a bit different than hall trees I've done in the past because it had a glass window on the door.  Also, it's made to look like more of a chair but I think I'll still end up putting the coat hangers and some type of shoe storage on the bottom.  I went to the re-store, Sutherlands and my garage for my supplies.


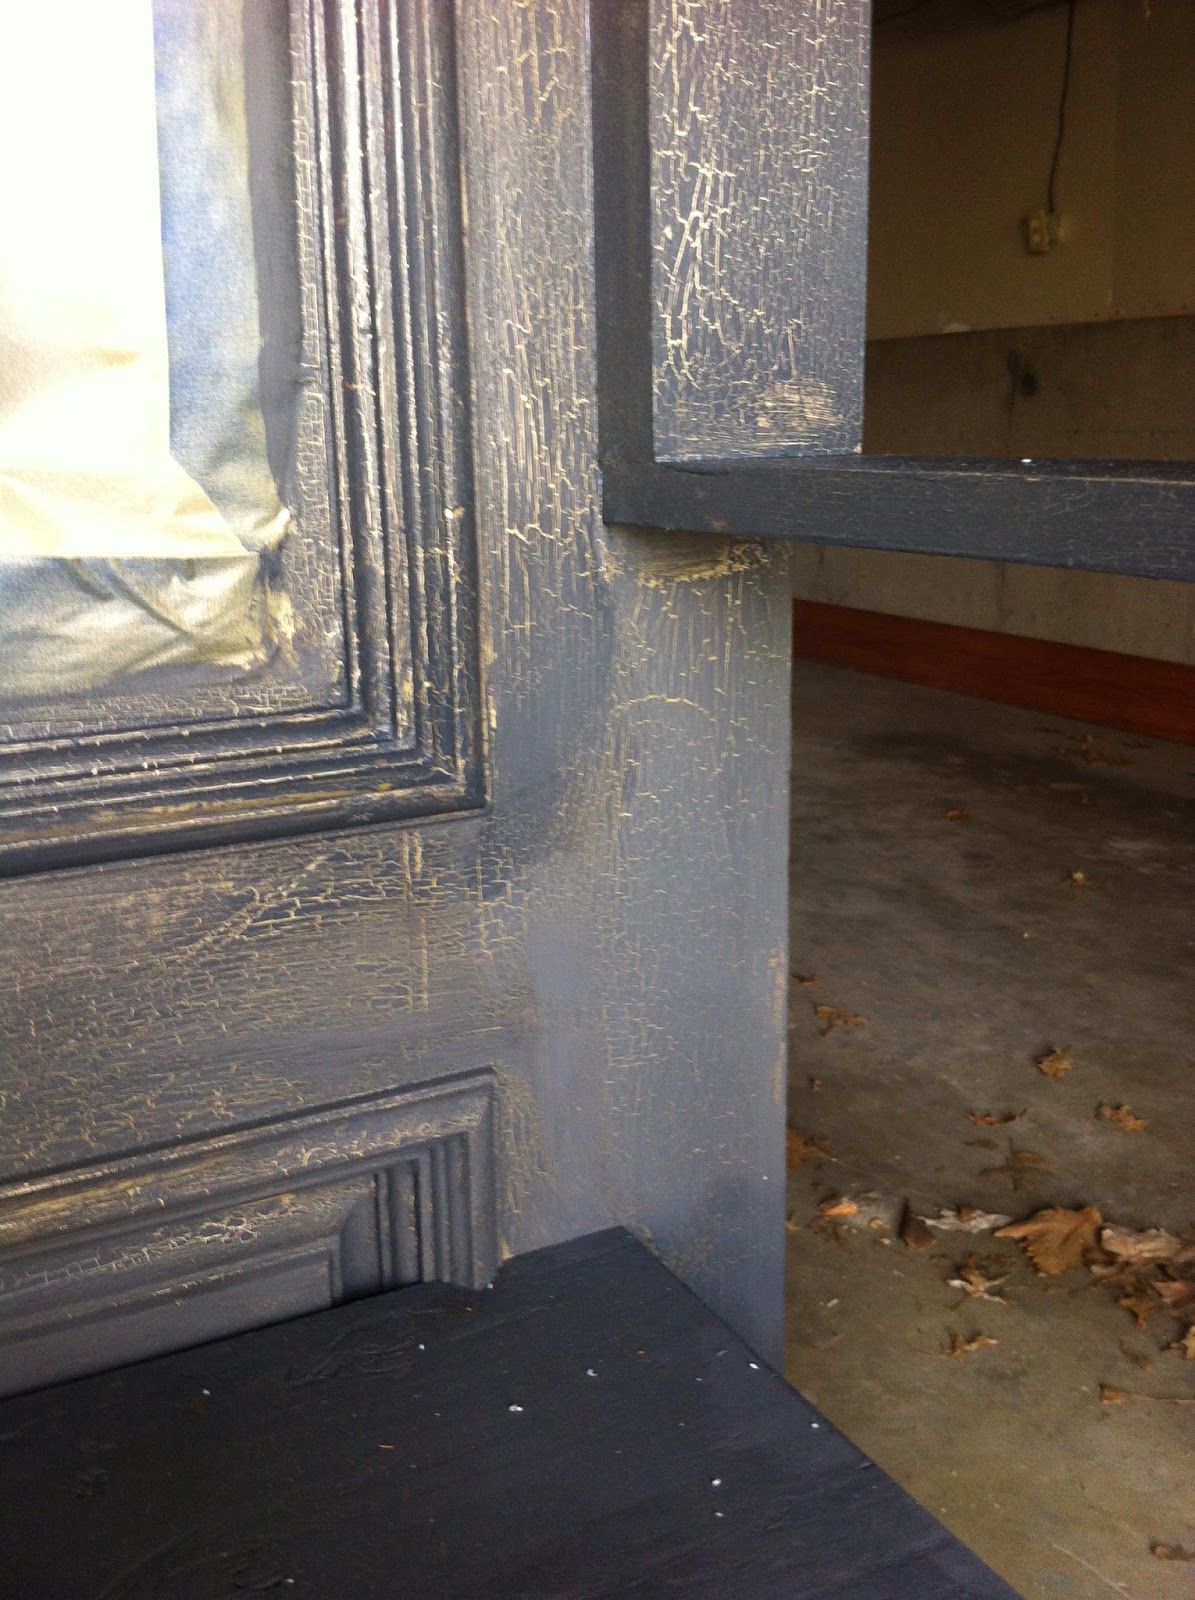
Now, she's having new counter tops installed which are black and she wanted to tie the color in with the hall tree.  So it's going to be painted a slate color.  I'm using the chalk paint I ran across at Sutherlands.  Kind of hard to tell in the picture but there's gold on the detailing in the glass on the door, so I got this crackle medium stuff.  What I'm going to do is once this whole thing is put together, I'm going to spray paint the entire door gold, then apply the crackle followed by the slate chalk paint.  Hoping the crackle turns out decent so you get a little trace of gold throughout the door.  May make it appear a little more antique.

Of course you have to have a plan going in, my dad was AMAZING and helped me every bit of the way.  Including translating my thoughts onto paper.


Progress


Making the knob holes disappear


Prepped for paint


Spray painted gold


I put a thin layer of the crackle medium on, I'm going to let that dry over night.


One coat of the charcoal color


A coat of clear wax (you can sort of tell right underneath the arm doesn't have wax, all the wax does is protect your paint and deepen the color a little bit).


Before and After


All finished...the lighting in my garage isn't that great.  Looks a little bit different in person (looks sort of bluish in the pictures)....

Special hall tree for a special lady!


Saturday, January 9, 2016

Nightmare fireplace turns into an eye gazer!

When I moved into this house, one thing that always stood out like a sore thumb was the fireplace.  Why on earth would you ever paint over brick?  I tried scraping it off, acid, acetone...unless I sand blasted it, I was probably just stuck with the ugly paint job.  What's worse?  I have two of these fireplaces in my home.

So let's start with the upstairs.  Here's what I'm working with.  This brown color on the fireplace also used to be on the walls.  Not my shade of brown for sure.

UPSTAIRS


So the first thing I started with was the mantle.  I used a gel stain from Minwax to coat this.  I actually didn't even wipe it off like you normally would.  It only took a couple days of drying.  I also decided to spray paint the electrical outlets in a flat black paint.  The only reason I chose black was to match the vents below.


Then I painted the bottom of the fireplace white.  Just some left over paint I had lying around.


I honestly had no clue how I was going to attempt to make this fireplace look any better, I was talking to my mom one day and she told me to just paint it so it looks like brick again.  Wow, that's a simple fix.  I did a little research and found a sponging technique.  I got this idea from Lowe's website.

In the basement there was this fireplace cover, so I spray painted it in a matte black color.


Same thing for these things I found in the garage.


I met a couple of the nicest guys at Lowe's yesterday when I was picking up my paint, one was a house flipper and the other did furniture restoration.  It was nice to talk to some folks that are interested and get excited about the same stuff I do.

I just got a couple things at Lowe's, here was my shopping list:


  • 2 large O-Cel-O sponges (1 I cut down to the size of my brick and the other I left large)
  • 1 qt of Valspar Signature Satin paint in smoked oyster
Some other things I had handy already that I used were:

  • Paint tray
  • Cardboard box
  • Gloves


It took me about two hours of sponging.  I was a little surprised with how long it took.  Here are some of the first pictures I took.  I was pretty scared at the time of this picture.


Here's the sponging up close.


And the before and after...


With my pictures back up and the newly painted fireplace cover.  I also went ahead and re-spray painted the vents.


DOWNSTAIRS


You'll have to excuse the mess I have going on down here.  The basement really hasn't been a priority for me but something I definitely want to change.  I want to make it look a bit more inviting down there....okay a lot more inviting.  So starting with the fireplace since I'm already doing the upstairs.  Here's what we have going on in the basement.


Well, what do you know...more of that ugly brown color.  That will be the first to go.  I used my gel stain on the shelves and they look pretty neat I think.  I also painted the wall behind the shelving units white.  I thought about a different color because everything seems soooo white.  But I'm going to stain the concrete dark here pretty soon so I'm just going to hope that tones some things down.


I did the same concept for the basement, except at the bottom of the fireplace, the mortar wasn't as deeply set as the rest of the fireplace so we had to cut that sponge down to the size of the brick so that it would appear the same as everything else.  Put all the shelves back and here's how it turned out.


Starting to look a little less scary down there.


Tuesday, December 29, 2015

Something Blue, Borrowed, Old, and New

Found on the curb.  This one is a little out there but I'm going to use it for my gramophone.

Cleaned it up a bit


Painted in some super bright blue chalk paint


Sanded, clear coat of wax followed by a dark coat of wax (24 hours in between each coat)


And a new knob


Good as new, before and after picture


In it's new home.  I like that it has storage underneath for my records.  For sure is fancier than having them sit on my fireplace.


Sunday, December 20, 2015

B's Desk

For Christmas, I wanted to make my son a desk where he can study and do his school work.  He's in kindergarten this year and surprisingly they do bring a lot of work home.  He has been asking to have a desk in mom's office so....I drew up some designs.  Granted, nothing ever turns out the way that I plan but it's good to go in with some sort of idea. (not sure why they are sideways...)


We stopped by Lowe's to pick up some lumber.  B got to pick most of his own stuff out.  I also found that a near by Sutherlands, sold a different brand of chalk paint so I think I'll try it out.  Here's the color he picked out.


Let me tell you, I had every intention of working on this thing and with the holiday craziness it didn't appear it would get done in time.  My dad surprised me with working on it this weekend.  It's off to a great start and he did such an amazing job.


Changed our minds on the top.  Decided to give it a 1/2" overhang on either side of the desk so we cut it 23" long.


Then, routed the sides for both the top back piece and the main lid (not shown in picture).


Attached the top back piece with screws and used wooden buttons to cover up the screw holes.  How cute!!


Tonight, we'll be working on hinges and attaching the legs.  Need to do some sort of support structure underneath the desk.  Benton picked out what look like stair spindles for the legs and I have my doubts on how well they will hold the desk up, it's pretty hefty. Then I'll do some light sanding and on a mad dash to get it stained/painted/poly tomorrow!

---------------------------------------------------------------------------------------------------------------

Alright, the legs aren't going to work.  I'm going to keep these on for now but they are definitely getting replaced after Christmas time... They will be shorter and square....the top just doesn't match the bottom.  Also, just a forewarning, the paint job may look a little crazy but I'm not done yet.

All built


After doing a light 220 grit sand, I went ahead and taped off where I was going to stain.


In dark walnut of course...


Removed the tape and painted in the new brand of chalk paint.  Overall, I liked the coverage but the paint seemed really thick.  Not sure if it had been sitting on the shelf for a while or that's just how it is.  I may have to add a little water when using it on the next pair of legs.


Yes it's pretty blue right now...


On the agenda tomorrow is polyurethane,  Some sanding on the chalk paint and some clear and dark wax.  Apart from the legs, isn't it just darling?!?

------------------------------------------------------------------------------------------------------------------

Okay, finally back to the desk.  So I scrapped the legs and picked up some 2x2's from Lowes to use instead.  I did a light sand on the top of the desk because I'll be putting another layer of polyurethane...I used a satin finish last time and didn't like how it looked so I'm going gloss this time around.  Since this was custom made in my dad's workshop, we branded it...turned out pretty cool.


I messed around with layer the chalk paint with 2 different blues, I wish I would have done this to the top part of the desk too but it was fun experimenting with it at least.


Then did my coat of polyurethane with clear and dark wax on the new bottom legs (which are about 6" shorter than the original legs and made a huge difference).


After it dries I'll take a picture of it since it will be going in our now "shared" office.  Hopefully school work will be a little cooler with this new desk.

Stairs, can't get the paint off to stain? No problem...

I tried pretty much everything to get this paint off the back of the stairs...I mean there are layers upon layers of paint!  I could have tore everything out and replaced the boards, which I still may end up doing someday but I for sure couldn't continue to look at this.


So, I did a similar project in the past for my front door, faux staining it is.

The first steps were pretty similar, sand it down to make it as smooth as possible then it's painted this ugly orange color, you can refer to my other post for the name of this paint to view the brand of paint click here.


After 2 coats of the orange were dry I did a coat of the Minwax gel stain.


Let that dry for a few days and put on another coat of gel stain in the hopes of making it appear darker.  Then I put on one coat of polyurethane that I used when I redid my wood floors.  Lastly, I repainted the white trim.


And here's the before and after.  Not perfect, but it will do for now.


Dream Catchers

For Christmas, I made a couple of dream catchers inspired by a photo I saw on Pinterest, DIY Crafts Now.  I got all my supplies at Michaels.  They have these metal rings for a few bucks (comes in a pack of 3) and then I just grabbed some beads, feathers, string and some suede ribbon.

So you take your stings and beads (if you want them) and make a series of tied loops on the outer ring and pretty much just keep weaving until you get to the middle.  You have to pull the string pretty tight.  Then I attached my string of beads, that hold the feathers, on to the bottom of the ring.  Then you wrap the outer part of the ring with string or on one I used suede.  Last step is adding the feathers and the hanging piece at the top.

There were of course some trial and errors haha.


Another, lots of feathers


I think they're lovely