Monday, April 18, 2016

Mason Jar Herb Collection

I decided to do this idea I found on Pinterest for a birthday present.  I got the mason jars and labels on amazon and the rest of it was just items I had laying around the house.

So to start, I used some old oak flooring that I had in my garage.  I used a belt sander to get all the old stain off.  I used the flooring for 3 braces on the back as well to hold everything together.


Then I added some streaks of white paint


And some red (we're going for rustic here)


And I used stain on top of all that...but after it dried it was too light


So I ended up using dark wax on top of it to make it darker.  I used Valspars line from their chalk paint selection.  (I didn't put the dark wax on until after I put the jute on...you'll notice it's still light in the picture below)  I wrapped the jute around 5 times on each side and secured it with hot glue on the back.


Then I used some metal hose clamps that you can find in the plumbing section at the hardware store.  They were less than $2 a piece.  To attach these I pre-drilled a hole in each of them.


And then attached them each with 1 screw.


And finally attached the mason jars after putting the labels on them.  The labels themselves are pretty neat.  They came with a chalk pen that you can wipe off and reuse if you decided to put something else in there.


And there you have it.  I decided to go with green mason jars instead of clear....just to be different.  They also had purple on amazon,,,maybe next time.  I'll try to post a picture again once they have some herbs growing in them.

Everything has been planted.


Wednesday, March 16, 2016

Nautical Wall Art

I saw this idea on Pinterest a while back that I've been meaning to try.  My bedroom is a sort of ocean color scheme.  I used some old boards that used to belong to a swing set, and sanded them nearly down to the wood with a belt sander.  Then I just cut them to various lengths and attached them all to 2 other pieces of wood with screws.


Next, I just started doing some painting here and some painting there.  


I used a couple different blues, a teal color and white by the time I was all finished.  No method to the madness, I just brushed it on where I thought it looked alright.  I also drew out an anchor (kind of hard to see in the picture below since it was in pencil) I used some cups and nail polish around the house as templates for the circles, a ruler for the straight edges and free handed the rest...so it's not symmetrical at all.


This was the longest part, wood burning.  I used a shading tool and it took FOREVER!  


It didn't come out as dark as I wanted it but that's okay.


I used both chalk paint and regular paint but decided to try and make it a bit more rustic by adding some clear and dark wax over the top.


Next I tied some 3 ply jute around the boards.  I wrapped it around 5 times, since there are 5 boards....just seems fitting I guess.  I secured the jute in place with hot glue.  A girl is nowhere without a hot glue gun.  You can also see I added some picture hangers to the back as well.


And there you have it, all finished.  Sorry the lighting is a bit poor, looks darker than this in person.  Maybe in some natural day light the true colors will show through, we'll see when I get it hung on the wall.


Hung up in my room.


Sunday, February 28, 2016

Wooden Stairs

Trying again to get this brown paint out of my house.  I honestly thought this would be a simple fix...get the paint off and stain, this should only take a weekend, right???

WRONG.

Here's what we started with

A friend of mine recommended aircraft remover (which I found is more of a automotive paint remover) but he said it would do the trick.  So I gave it a try and came out with this...


I got a couple dust pans full of paint shavings...but needless to say there was still a bunch on there.  So then I tried a high strength paint stripper...


Finally, I gave up and began to take apart the stairs.  I also took the threshold off of the top, there used to be a door there but I felt like I had too many doors in the house.


I used a planer on the first step and gouged the wood so I stuck with a belt sander for the rest of the steps.


The bottom landing pad thing, looked like a puzzle before.  I wish I would have got a better picture of it because it was two horizontal boards and one vertical board, I'm pretty sure the previous owner cut the boards too short and instead of redoing them just cut a smaller piece of wood to cover the rest of it up.  So I got some wood at Lowe's and cut new ones out and routed the edges so it looked a little nicer.


I went back over the sheetrock and did some mudding...that's another part of the stairs that's always bothered me...there was caulking and a whole bunch of other goop that just made them look horrible.

Happy to report that putting the stairs back together was the quickest part of this whole adventure so far.


Now I need to fill in where the nail holes are at, sand one last time and I should be ready for staining!

My specially mixed woodfiller is now on.


So the woodfiller didn't take the stain that well, but overall it looks better I think.


3 coats of polyurethane, now all I need to do is touch up the wall paint and trim and we are all finished!


Finally got the walls repainted, the trim and the door frame. Looks much better.


Sunday, February 21, 2016

Hall Trees

Taking a stroll down memory lane today with hall trees I've done in the past.  Each is different and unique and in their new homes.  Next, I'll be making one for myself.  See how each were made with the links below.


Saturday, February 20, 2016

Baseball Wreath

For my dad's birthday I wanted to make him something for the upcoming Royals season.  I've seen these on Pinterest and one of my friends from high school made one that turned out super cute.  I bought a dozen balls from Walmart for about $20, my Craigslist buy fell through so they would have to do.  I wanted to buy used baseballs to make it appear sort of old, so we had to improvise a little bit.  I took B out to Jared's for a little batting practice...I was a little disappointed when we didn't make the baseballs any dirtier, and it was still pretty cold outside.  Jared decided to rub them in mud, and they didn't turn out too bad.

On Pinterest, they said you could use a wire wreath from a craft store but I snagged Jared's one and only wire hanger.  I drilled a hole in each of the baseballs and ran the wire hanger (after trying to straighten it out as much as possible) through each ball.


I also picked up a couple letter while I was at Walmart and spray painted them blue.


After decided how I wanted the letters to lay I attached some wire to the back of the letters with hot glue, and got glue the letters together too (so they wouldn't come apart or fall off).  After that dried, I twisted the wire around the wire hanger to keep the letters snug in to place.


The letters were pretty blue so I used the antiquing wax to tone them down.  And lastly, after I twisted the wire hanger to secure the wreath I needed to hide all the twisted wire so I used a blue ribbon tied into a bow.  And viola, a Royals baseball wreath.


I think he liked it


Dad ended up putting his own spin on the wreath. How cool is this???!!!!


He made a shadow box to display his World Series tickets. It's hard to tell from the picture but the background of the shadow box is that fake grass stuff. Too cool!

Thursday, February 18, 2016

Chair Hall Tree

It's been a while since I've done a hall tree.  A family friend had an interest in one so I was quick to take a jump on that offer.  This one is a bit different than hall trees I've done in the past because it had a glass window on the door.  Also, it's made to look like more of a chair but I think I'll still end up putting the coat hangers and some type of shoe storage on the bottom.  I went to the re-store, Sutherlands and my garage for my supplies.


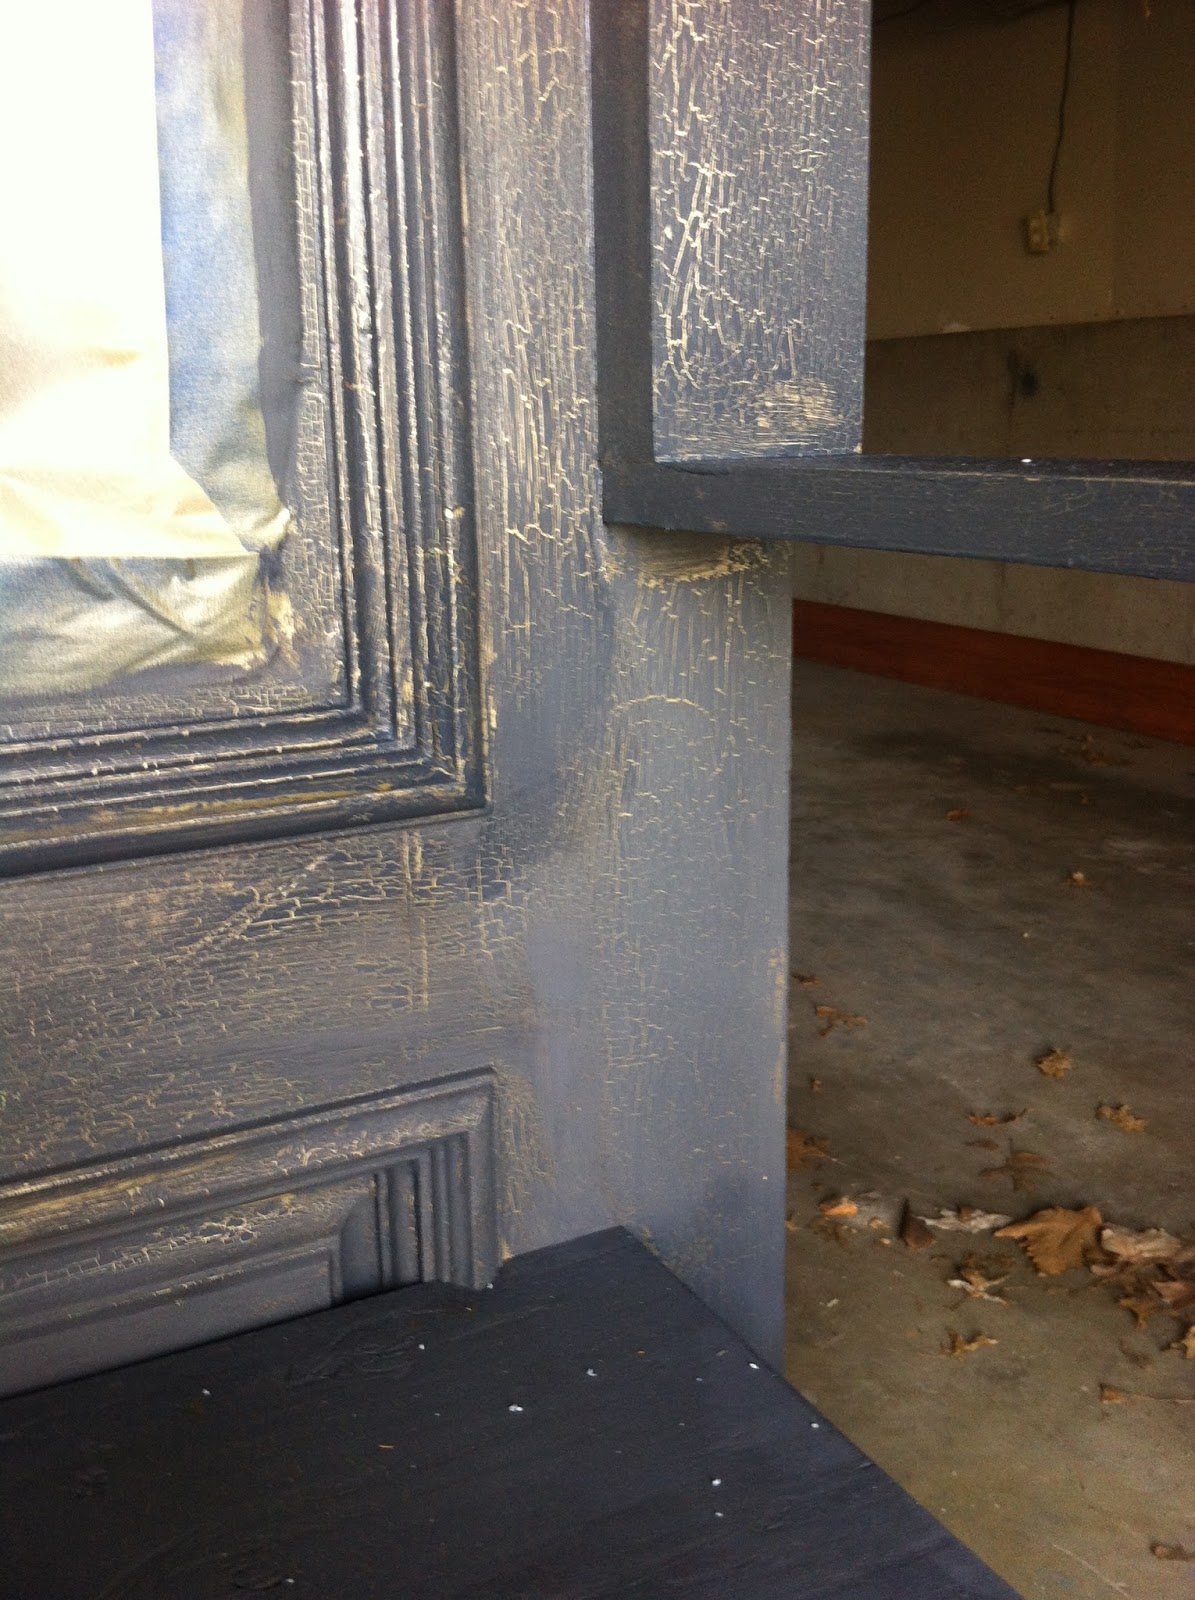
Now, she's having new counter tops installed which are black and she wanted to tie the color in with the hall tree.  So it's going to be painted a slate color.  I'm using the chalk paint I ran across at Sutherlands.  Kind of hard to tell in the picture but there's gold on the detailing in the glass on the door, so I got this crackle medium stuff.  What I'm going to do is once this whole thing is put together, I'm going to spray paint the entire door gold, then apply the crackle followed by the slate chalk paint.  Hoping the crackle turns out decent so you get a little trace of gold throughout the door.  May make it appear a little more antique.

Of course you have to have a plan going in, my dad was AMAZING and helped me every bit of the way.  Including translating my thoughts onto paper.


Progress


Making the knob holes disappear


Prepped for paint


Spray painted gold


I put a thin layer of the crackle medium on, I'm going to let that dry over night.


One coat of the charcoal color


A coat of clear wax (you can sort of tell right underneath the arm doesn't have wax, all the wax does is protect your paint and deepen the color a little bit).


Before and After


All finished...the lighting in my garage isn't that great.  Looks a little bit different in person (looks sort of bluish in the pictures)....

Special hall tree for a special lady!